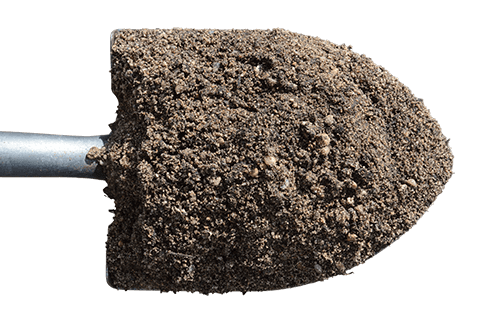
Vermicomposting, or worm composting, is the biological breakdown of organic wastes through specialized earthworms and microorganisms. Worms eat and digest kitchen scraps and other types of organic matter, leaving behind vermicompost. This is a combination of digestion by the worms as well as decomposition that occurs after the material is left behind by the worms. The decomposition process continues until you are left with compost that can be used as a soil amendment and source nutrients for plants.
When any organic material is added to the soil, it improves its moisture-holding capacity and the soil’s porosity (open space between soil particles). You can easily vermicompost in your home in a clean, odor-free way as long as you manage the process properly!
Essentials you will need include:
- An aerated container
- Moist bedding
- A few thousand red worms or earthworms
- Water
- Kitchen scraps
A good way to determine what size container you need is to have roughly one square foot of surface for every pound of garbage. A shallow bin with more surface area is preferable over a deep one because worms tend to stick to the surface when feeding.
You will need to keep the worm population healthy in order to obtain a quality end product. Once or twice a week, put your waste in the container with the worms. Avoid fatty foods and meats as they will not break down easily.
Some waste items you can use to feed the worms include:
- Potato peels
- Citrus rinds
- Vegetables
- Dry, crushed eggshells
- Bread
- Coffee grounds
You will want bedding that can retain moisture and air very well to protect the worms.
Some suggestions for bedding include:
- Shredded corrugated cardboard
- Shredded paper
- Commercial bedding
Be sure to wet the bedding and allow it to absorb as much water as possible before you place the worms in your bin. The bedding needs to stay moist throughout the entire vermicomposting process or the worms will die and the process will be cut short. After about 3-5 months, remove the finished vermicompost and transfer the worms to fresh bedding to start again!
Some helpful tips to remember:
- Start with moist bedding, then layer your waste on top, followed by more bedding
- Your bin should be filled roughly 2/3 with bedding
- Do not put too much waste in your bin; the vermicompost process takes time when done correctly
- Do not put plastic, glass, soil, or insecticides in your compost bin
- Keep the temperature around your bin between 55 and 77 degrees Fahrenheit
- Do not let it get below freezing or above 84 degrees
- 1 pound of red worms per ½ pound of garbage is a good ratio to stick with
Maintain moisture, incorporate waste regularly, and wait patiently—you will soon have nutrient-rich vermicompost!

